|
|
You are here: Foswiki>IT Web>ItServicesVPN>ItServicesVPNWin (27 Mar 2013, MmaehlUserTopic)Edit Attach
IT-Dienst::VPN des Fachbereichs - Anleitungen für Windows
Schritt-für-Schritt Anleitungen zur Einrichtung des Fachbereichs-VPN unter Windows.Step-by-step tutorial for creating a VPN PPTP connection in Windows.
IT-Dienst::VPN des Fachbereichs - Anleitungen für Windows XP Prof. (deutsch)


VPN PPTP Verbindung erstellen
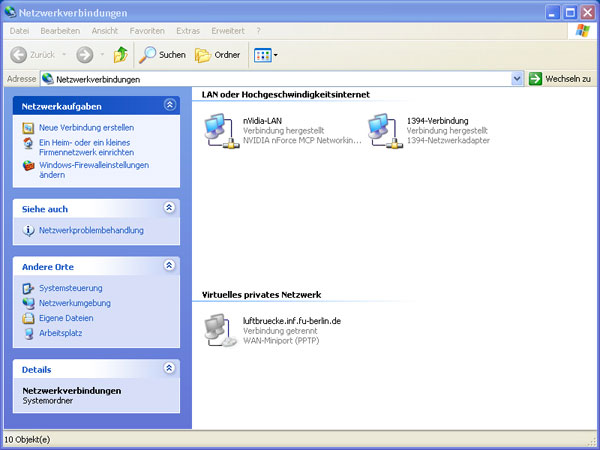
- Drücken Sie Start und wählen dann Verbinden mit - Alle Verbindungen anzeigen oder klicken Sie mit der rechten Maustaste auf Netzwerkumgebung und im anschließenden Kontextmenü auf Eigenschaften.
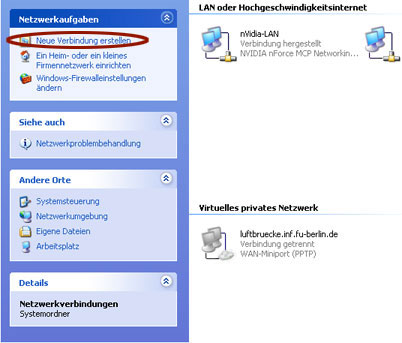
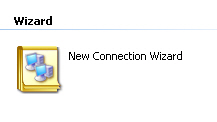
- Neue Verbindung erstellen.
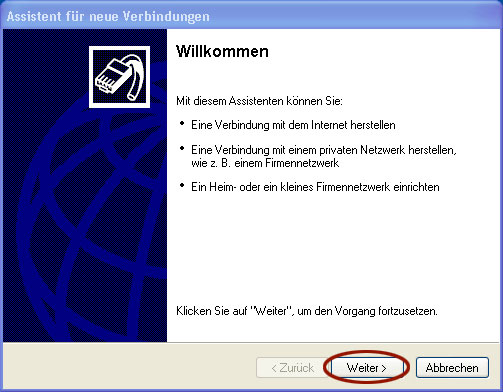
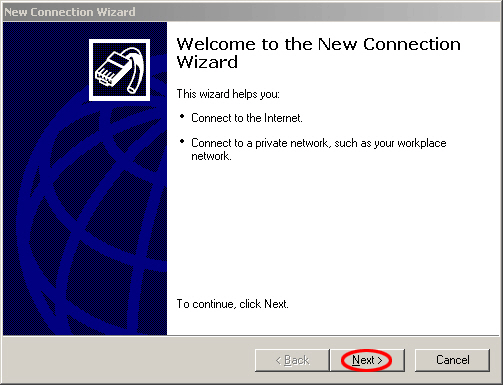
- Der Wizard für die Erstellung einer neuen Verbindung erscheint. Klicken Sie auf _Weiter_
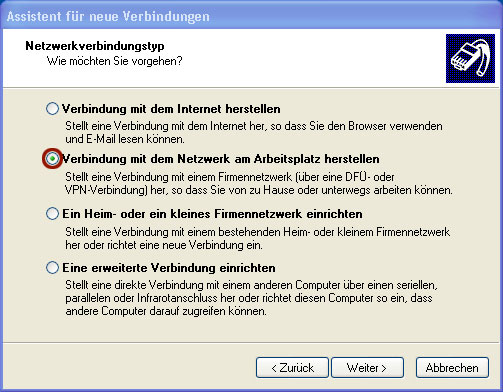
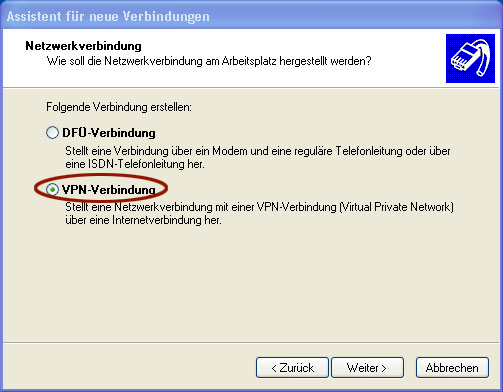
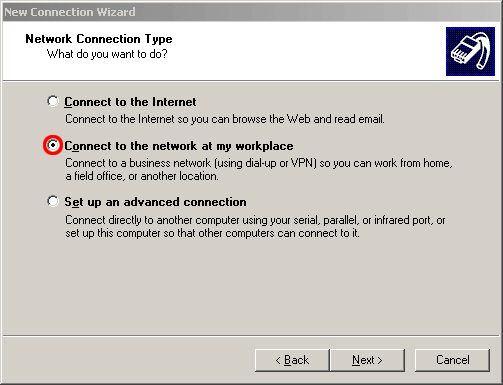
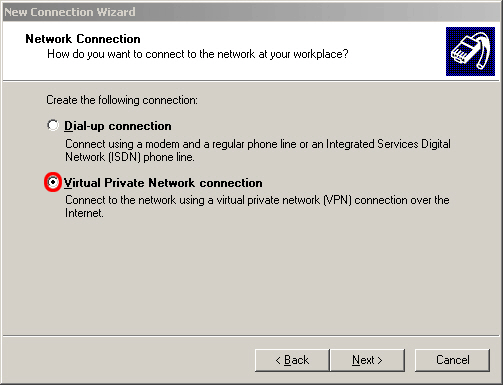
- Wählen Sie Verbindung mit dem Netzwerk am Arbeitsplatz herstellen.
- Wählen Sie VPN-Verbindung.
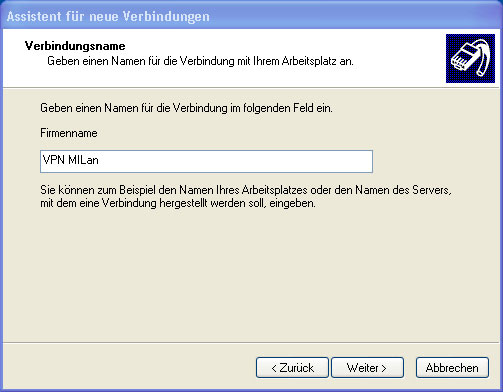
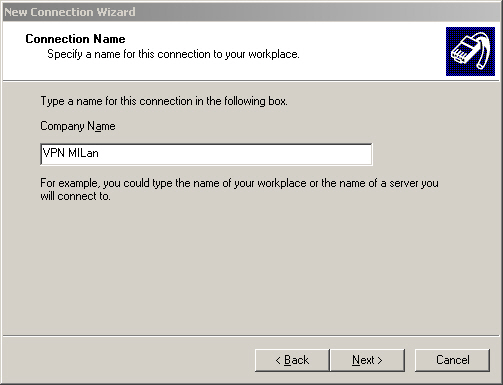
- Tragen Sie nun einen Namen für die Verbindung ein. z.B. VPN MI.
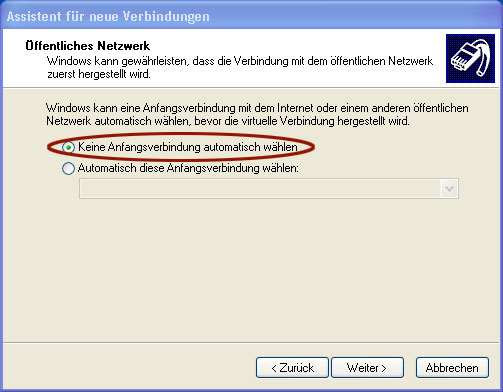
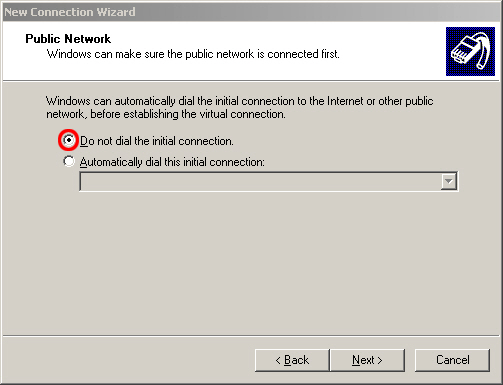
- Wählen Sie die Option Keine Anfangsverbindung automatisch wählen.
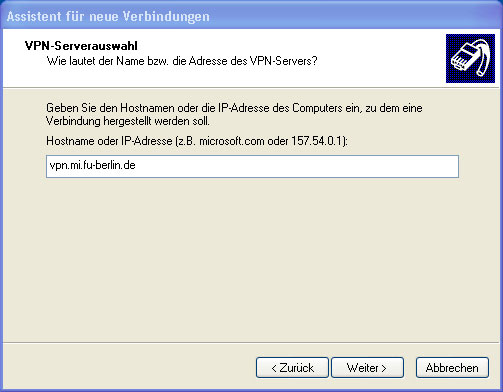
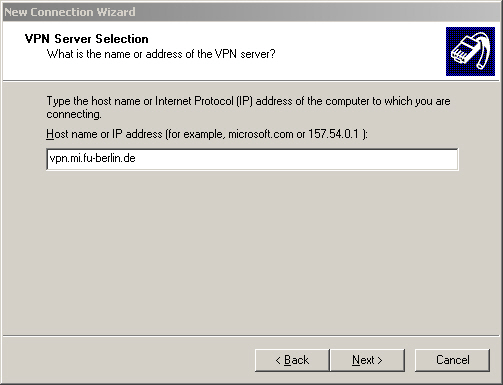
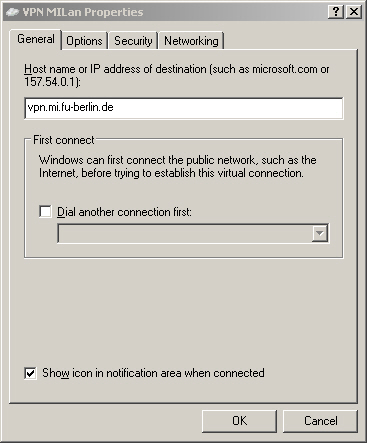
- Tragen Sie vpn.mi.fu-berlin.de als Hostname ein.
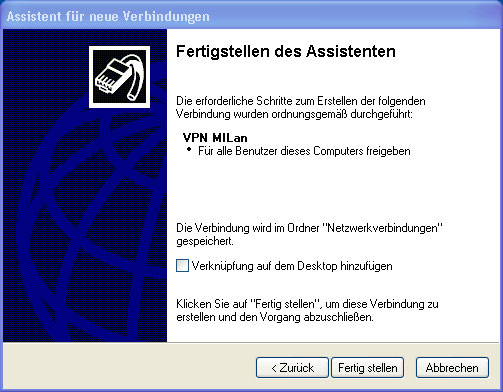
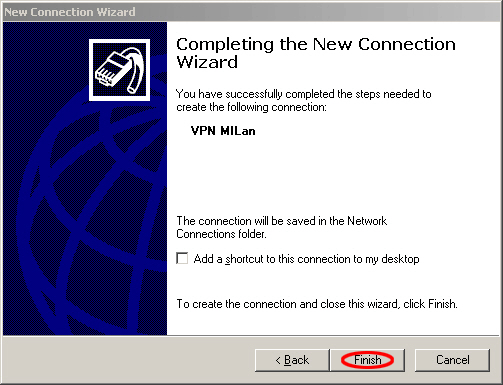
- Drücken Sie auf Fertig stellen.
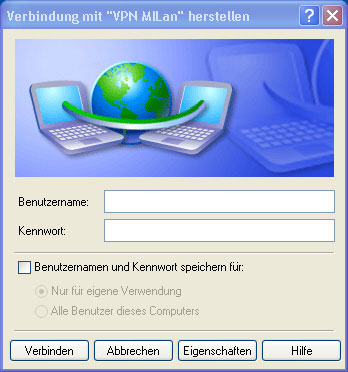
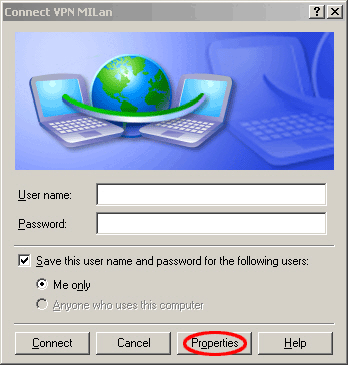
- Bei Benutzername: tragen Sie bitte ihren ZEDAT-Accountnamen ein.
In das Feld Kennwort: kopieren Sie ihr im Fachbereichsportal generiertes VPN-Kennwort;
Nicht das Passwort des ZEDAT-Accounts (Login)!
Aktivieren Sie die Speicherung Ihrer Anmeldedaten, wenn Sie diese nicht noch einmal eingeben möchten.
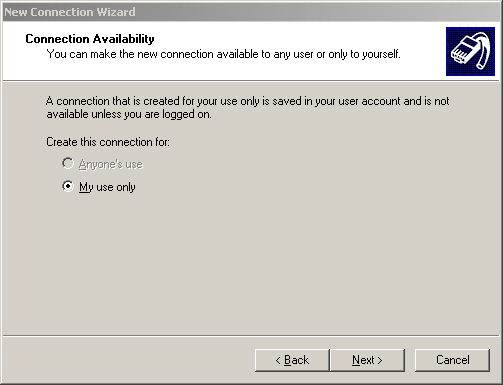
Wählen Sie die Option Nur für eigene Verwendung. Drücken Sie Eigenschaften, um weitere Einstellungen vorzunehmen.
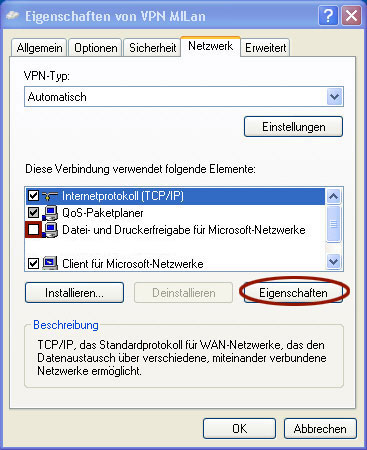
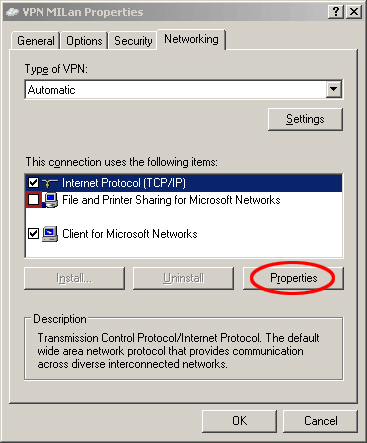
- Wählen Sie das Register Netzwerk.

- Der VPN-Typ: PPTP oder L2TP über IPSec wird automatisch erkannt. Sie sollten ihn aber hier auch explizit einstellen (PPTP).

- Deaktivieren sie Datei- und Druckerfreigabe für Microsoft-Netzwerke.
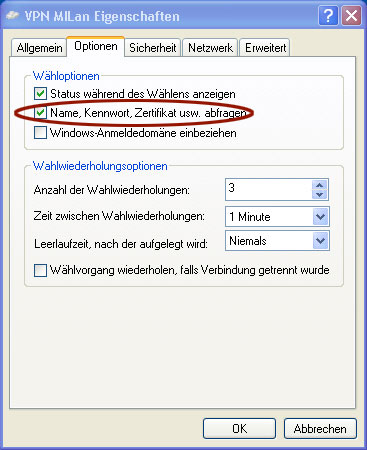
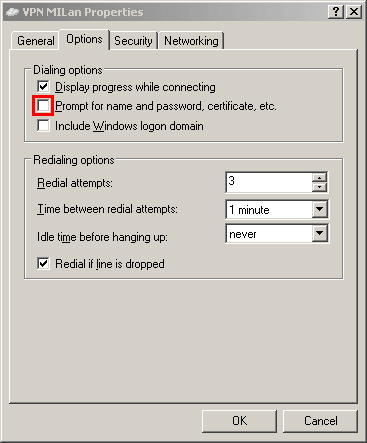
- Im Reiter Optionen achten Sie darauf, dass das Häkchen an Windows-Anmeldedomäne verwenden nicht gesetzt ist.
Überprüfen der Verbindung
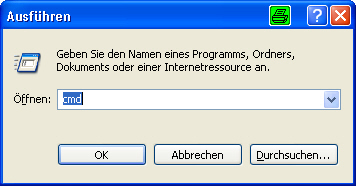
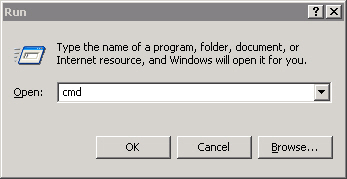
- Drücken Sie Windows-Taste + R oder Start - Ausführen , um das Ausführen -Fenster zu öffnen. Geben sie
cmdein.
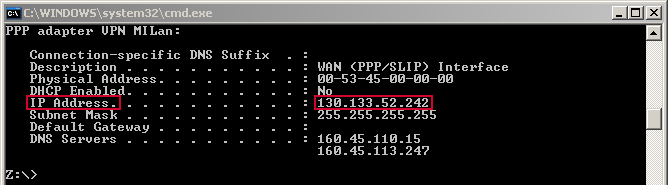
- Mit
ipconfig /allrufen Sie die Liste der Verbindungen auf.

- Überprüfen Sie beim PPP-Adapter die IP-Adresse. Sie sollten eine feste IP-Nummer aus dem Bereich 130.133.48.0/20 (130.133.48.0 - 130.133.63.254) erhalten haben.

Für technisch versierte Anwender
Sie können anstelle des Default-Gateways auch die Route manuell anlegen. Dies wird notwendig, wenn sie parallel zur VPN-Verbindung einen Instant Messaging Client wie Miranda, Trillian, etc. verwenden bzw. wenn sie nicht ihren gesamten Traffic über die VPN-Verbindung leiten möchten (Performance, Hinweis für die FileSharer). Deaktivieren sie dann die oben gezeigte Option Standardgateway für das Remotenetzwerk verwenden . Öffnen sie eine Kommandozeile (Ausführen - cmd - Enter) und geben sie folgende 3 Zeilen nacheinander ein:route -p add 87.77.0.0 mask 255.255.0.0 130.133.52.242 metric 5 route -p add 130.133.0.0 mask 255.255.0.0 130.133.52.242 metric 5 route -p add 160.45.0.0 mask 255.255.0.0 130.133.52.242 metric 5 IT-Dienst::VPN des Fachbereichs - Anleitungen für Windows XP Prof. (englisch)
Create a VPN PPTP connection
- Create a new connection.
- Click next.
- Select Connect to the network at my workplace.
- Select Virtual Private Network connection.
- Enter a name for your connection. For example VPN MILan.
- Select Do not dial the initial connection.
- Enter vpn.mi.fu-berlin.de in the host name field.
- On shared computers it is recommended that you select the option My use only.
- Finish your configuration session.
- Enter your user name and your generated vpn password from MIPortal.
Click Properties for further network settings.
- Select the Networking tab.
- Deselect File and Printer Sharing for Microsoft Networks.
- In register Options deselect Include Windows logon domain.
How to recheck your connection
- Press Windows key + R to open the run window.
- Enter
cmdin the blank field to open the command shell.
- Type
ipconfig /alloripconfig -allto view the network configuration.

- Check the PPP adapter for the right IP address. The IP address should be from the range 130.133.48.0 - 130.133.63.254.
For advanced user only
Instead of the default gateway you can build your route manually. This is helpful if you use instant messaging clients and/or filesharing clients simultanously with the vpn connection. Therefore deselect the option Use default gateway on remote network . Open the command shell (run - cmd - enter) and type the following three lines sequently:route -p add 87.77.0.0 mask 255.255.0.0 130.133.52.242 metric 5 route -p add 130.133.0.0 mask 255.255.0.0 130.133.52.242 metric 5 route -p add 160.45.0.0 mask 255.255.0.0 130.133.52.242 metric 5 IT-Dienst::VPN des Fachbereichs - Anleitungen für Windows 7/8 (deutsch)
Einrichtung der PPTP VPN Verbindung
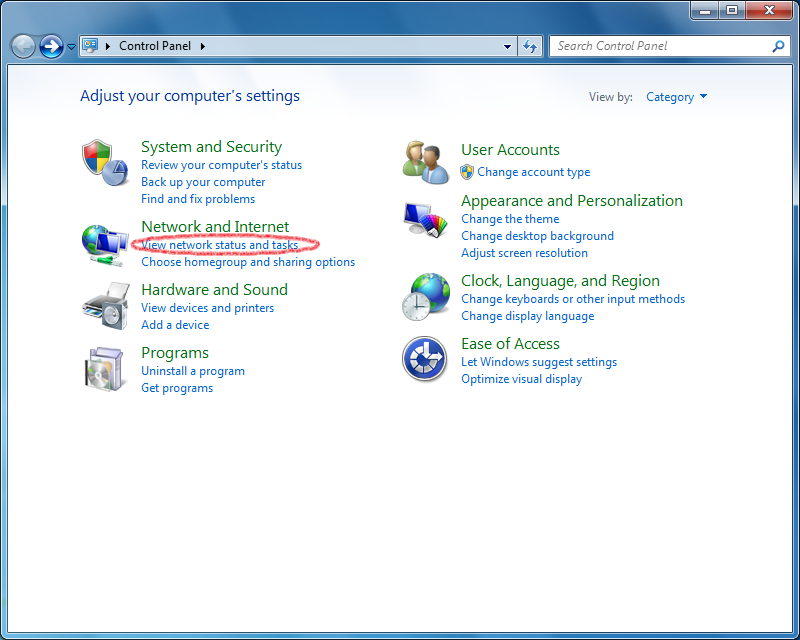
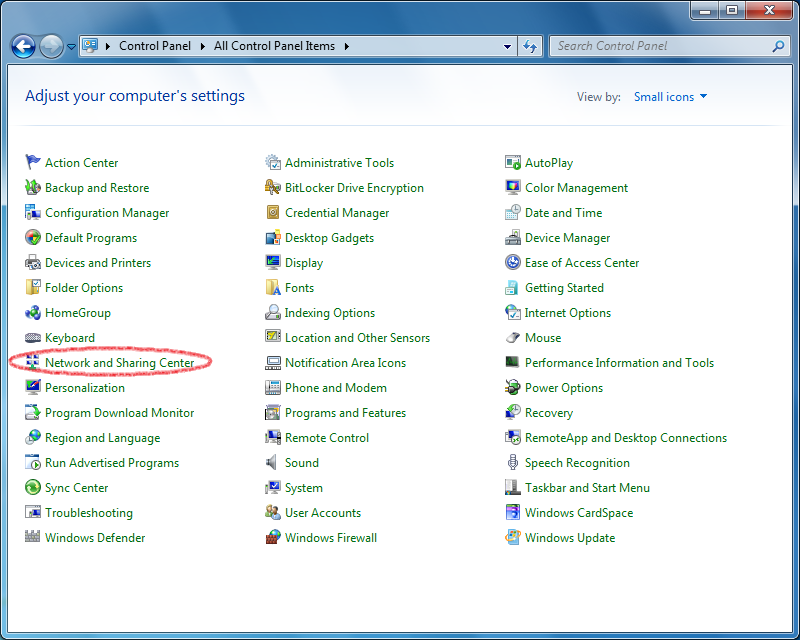
- In der Systemsteuerung wechseln Sie entweder über die Category Ansicht in View network status and task" oder über die all Control panel Items Ansicht in das Network and Sharing Center.
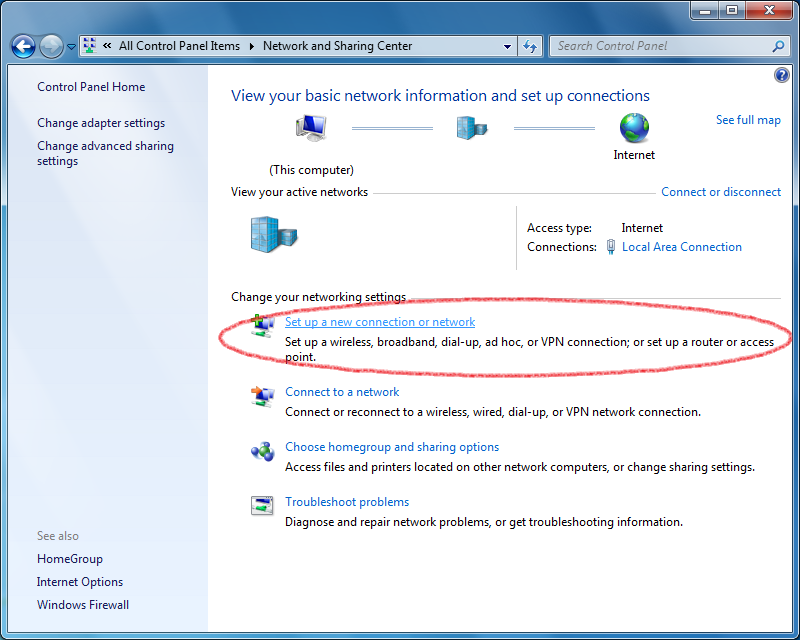
- Über Set up a new connection or network den Einrichtungswizard aufrufen.
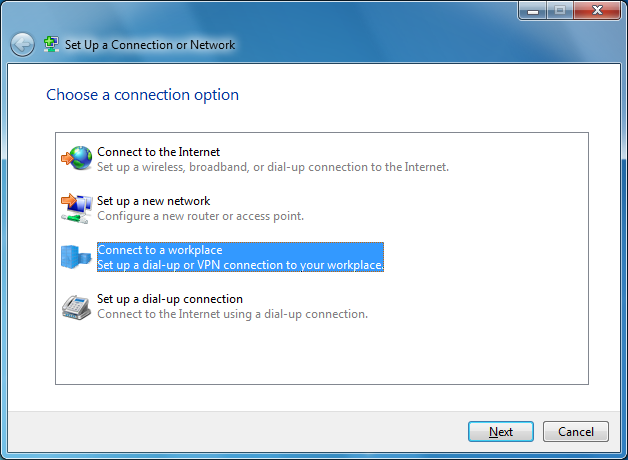
- Connect to a workplace auswählen und mit Next fortfahren.
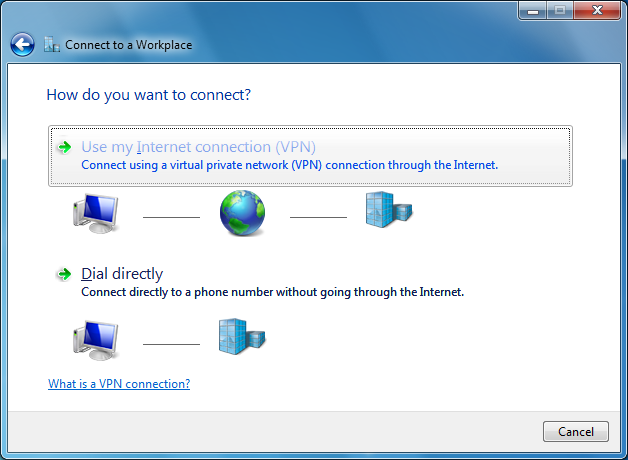
- Um nun die VPN-Verbindung einzurichten muss nun Use my Internet Connection ausgewählt werden.
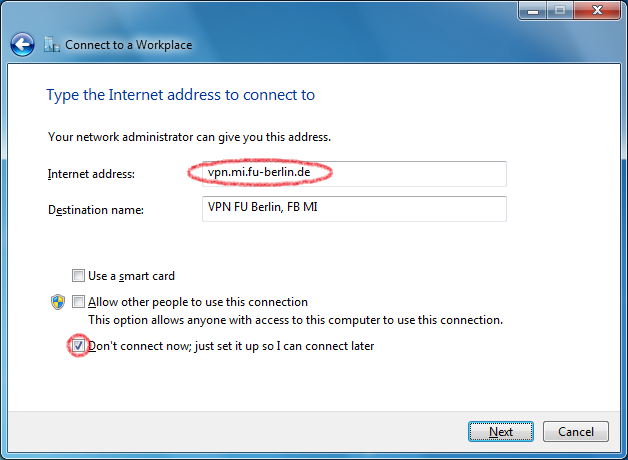
- Als Adresse * vpn.mi.fu-berlin.de* eingeben und der Verbindung einen Namen geben, z.B. VPN FU Berlin, FB MI.
Don't connect now; just set up so I can connect later auswählen, um nicht sofort eine Verbindung herzustellen.
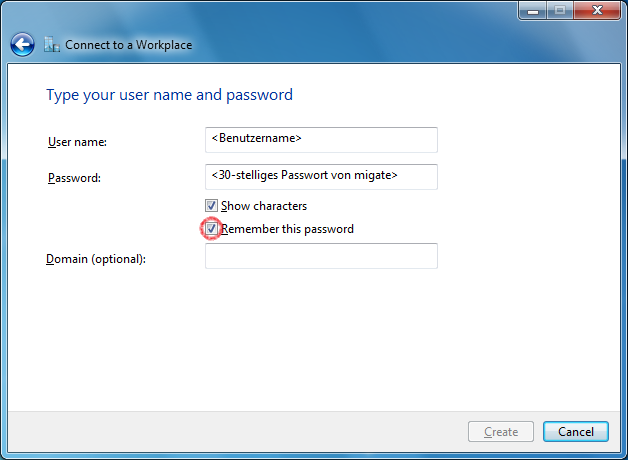
- Hier den Benutzernamen und das durch MIPortal generierte VPN-Passwort eingeben.
- Den Konfigurationsassistenten mit einem Klick auf Create beenden.
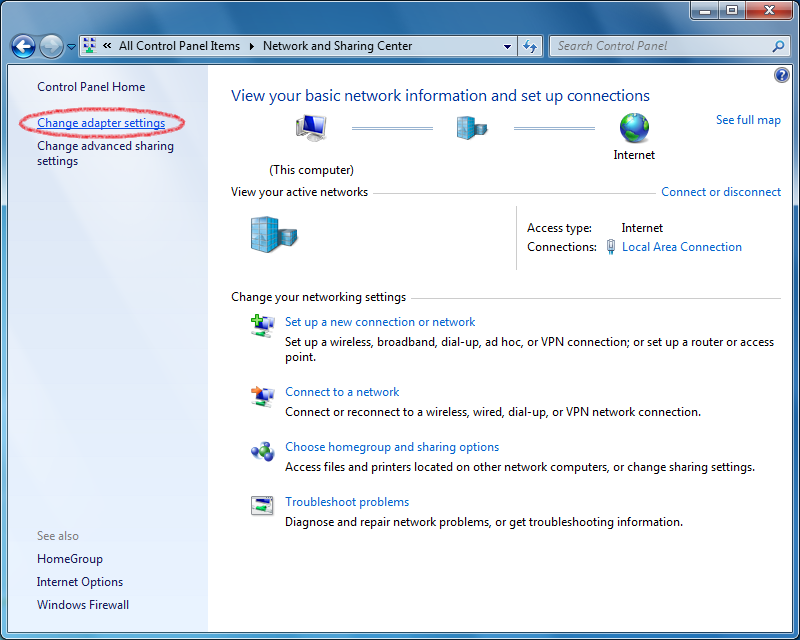
- Im Network and Sharing Center die Option Change adapter settings auswählen.
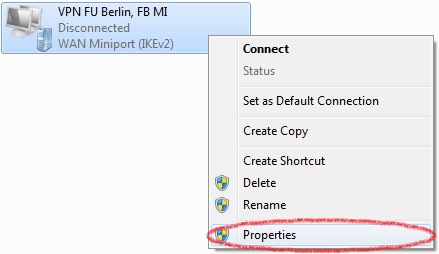
- Über einen Rechtsklick auf die neue VPN Verbindung die Properties aufrufen.
- Im Reiter Options Include Windows logon domain abwählen.

- Im Reiter Security den VPN Typ auf Point to Point Tunneling Protocol (PPTP) setzen.

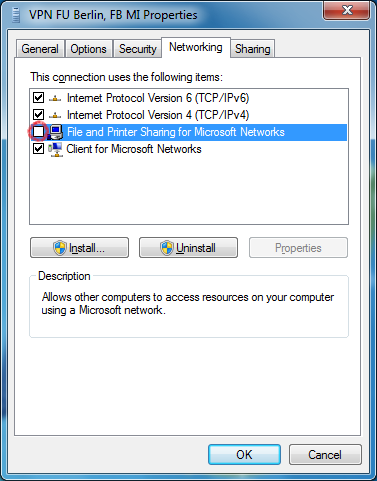
- Im Reiter Networking File and Printer Sharing for Microsoft Networks abwählen.
Überprüfen der Verbindung
- Drücken Sie Windows-Taste + R oder Start - Ausführen , um das Ausführen -Fenster zu öffnen. Geben sie
cmdein.
- Mit
ipconfig /allrufen Sie die Liste der Verbindungen auf.
- Überprüfen Sie beim PPP-Adapter die IP-Adresse. Sie sollten eine feste IP-Nummer aus dem Bereich 130.133.48.0/20 (130.133.48.0 - 130.133.63.254) erhalten haben.
Es kann passieren, dass es, auf Grund einer falschen Standardeinstellung in der internen RAS-Konfiguration der VPN-Verbindung, zu einer Access denied Fehlermeldung beim Login kommt. Mehr über dieses Problem und seiner Lösung finden Sie hier: Windows Password Lockout und wie man den Fehler behebt
Für technisch versierte Anwender
Sie können anstelle des Default-Gateways auch die Route manuell anlegen. Dies wird notwendig, wenn sie parallel zur VPN-Verbindung einen Instant Messaging Client wie Miranda, Trillian, etc. verwenden bzw. wenn sie nicht ihren gesamten Traffic über die VPN-Verbindung leiten möchten (Performance, Hinweis für die FileSharer). Deaktivieren sie dann die oben gezeigte Option Standardgateway für das Remotenetzwerk verwenden . Öffnen sie eine Kommandozeile (Ausführen - cmd - Enter) und geben sie folgende 3 Zeilen nacheinander ein:route -p add 87.77.0.0 mask 255.255.0.0 130.133.52.242 metric 5 route -p add 130.133.0.0 mask 255.255.0.0 130.133.52.242 metric 5 route -p add 160.45.0.0 mask 255.255.0.0 130.133.52.242 metric 5 IT-Dienst::VPN des Fachbereichs - Anleitungen für Windows 7/8 (englisch)
Create a VPN PPTP connection
- Go to the Control panel and select View network status and task in the category view or Network and Sharing Center in the all Control panel Items view.
- Create a new connection by clicking on Set up a new connection or network.
- Select Connect to a workplace and click next.
- Now you have to select that you will Use your Internet Connection.
- Enter vpn.mi.fu-berlin.de in the Internet address field and name your connection. For example VPN FU Berlin, FB MI.
Select Don't connect now; just set up so I can connect later.
- Enter your ZEDAT user name and your generated vpn password from MIPortal._
- Finish your configuration session by clicking on Create.
- In the "Network and Sharing Center" select Change adapter settings.
- Right-click on your new VPN connection and select Properties.
- In the Options tab deselect Include Windows logon domain.
- In the Security tab select Point to Point Tunneling Protocol (PPTP) as Type of VPN.
- In the Networking tab deselect File and Printer Sharing for Microsoft Networks.
How to recheck your connection
- Press Windows key + R to open the run window.
- Enter
cmdin the blank field to open the command shell.
- Type
ipconfig /alloripconfig -allto view the network configuration.
- Check the PPP adapter for the right IP address. The IP address should be from the range 130.133.48.0 - 130.133.63.254.
It is possible that an "Access denied" error occurs during login after configuring the VPN Connection. More about this problem and how to solve this you will find in this manual: Windows Password Lockout and how to fix this
For advanced users only
Instead of the default gateway you can build your route manually. This is helpful if you use instant messaging clients and/or filesharing clients simultanously with the vpn connection. Therefore deselect the option Use default gateway on remote network . Open the command shell (run - cmd - enter) and type the following three lines sequently:route -p add 87.77.0.0 mask 255.255.0.0 130.133.52.242 metric 5 route -p add 130.133.0.0 mask 255.255.0.0 130.133.52.242 metric 5 route -p add 160.45.0.0 mask 255.255.0.0 130.133.52.242 metric 5 Edit | Attach | Print version | History: r2 < r1 | Backlinks | View wiki text | Edit wiki text | More topic actions
Topic revision: r1 - 27 Mar 2013, MmaehlUserTopic
Ideas, requests, problems regarding Foswiki? Send feedback