Windows XP VPN PPTP connection
Step-by-step tutorial for VPN PPTP connection.Create a VPN PPTP connection
- Create a new connection.

- Click next.

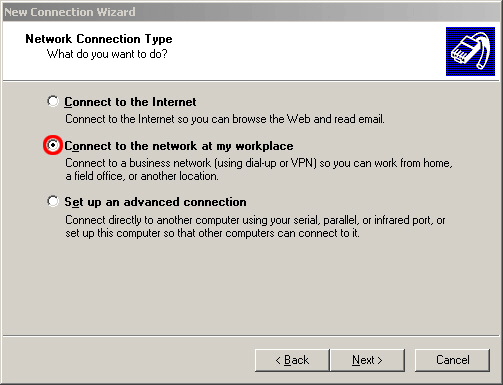
- Select Connect to the network at my workplace.
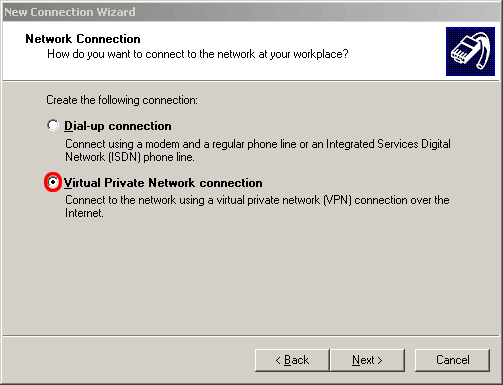
- Select Virtual Private Network connection.
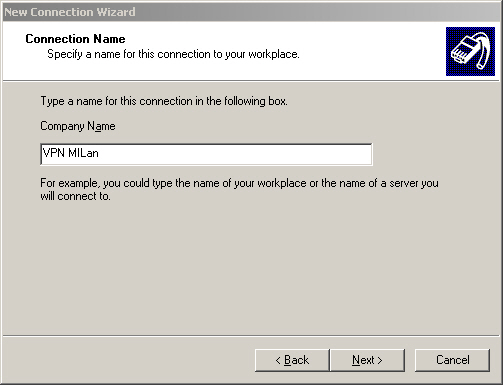
- Enter a name for your connection. For example VPN MILan.
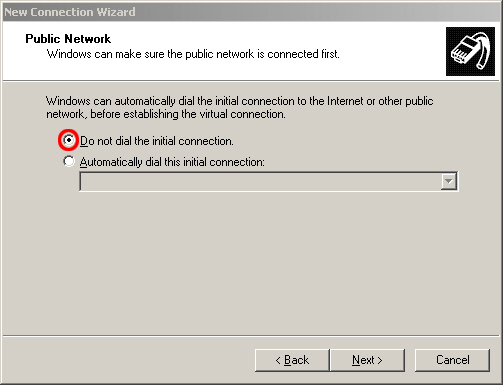
- Select Do not dial the initial connection.
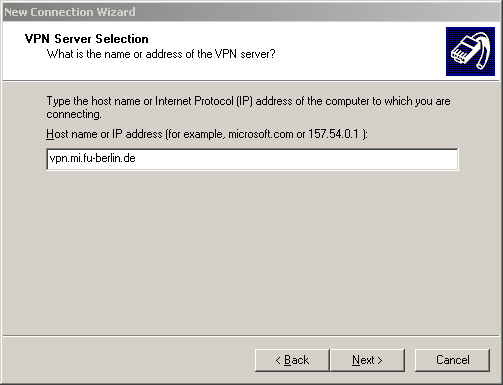
- Enter vpn.mi.fu-berlin.de in the host name field.
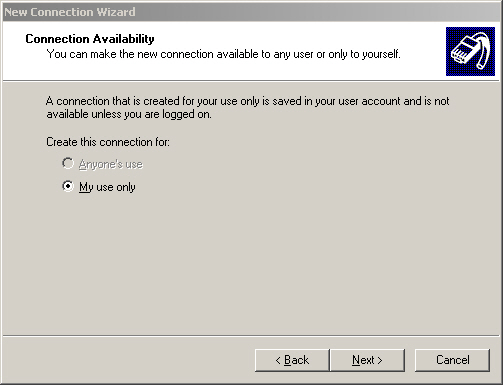
- On shared computers it is recommended that you select the option My use only.
- Finish your configuration session.

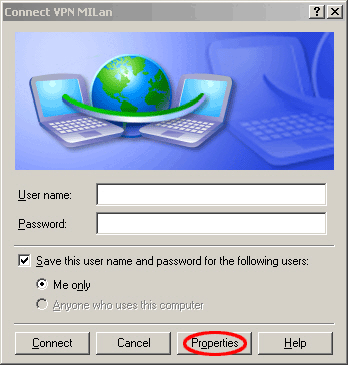
- Enter your user name and your generated vpn password from MIPortal.
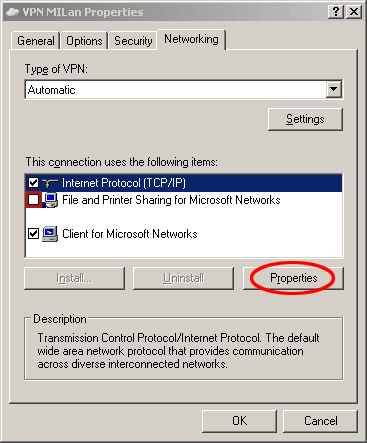
Click Properties for further network settings.
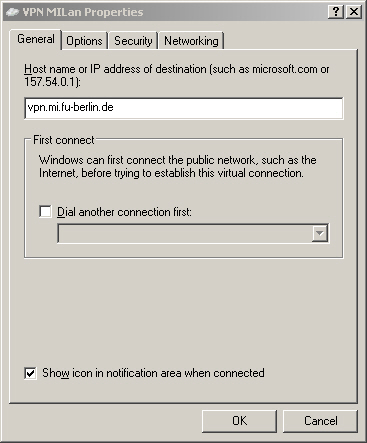
- Select the Networking tab.
- Deselect File and Printer Sharing for Microsoft Networks. Select Internet Protocol(TCP/IP) and press Properties.
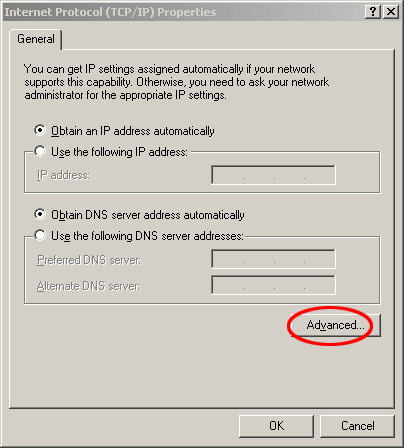
- Click on the Advanced button.
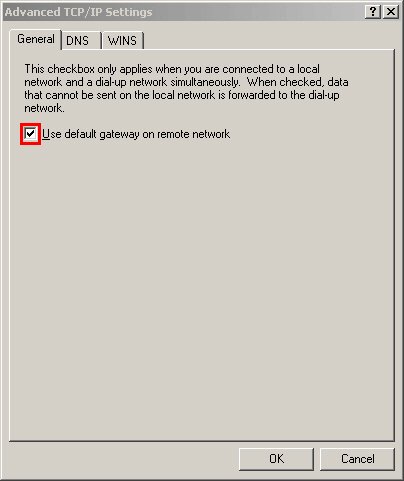
- !!!Attention!!!
For the vpn connection it is necessary to keep the default option Use default gateway on remote network.
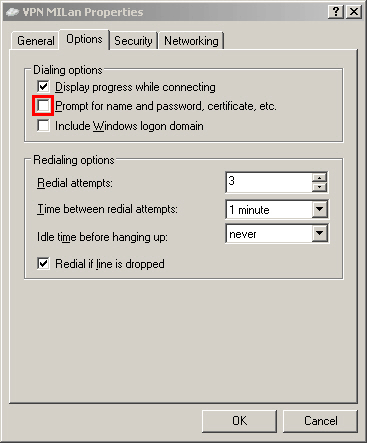
- After your first successful vpn connection, you could deselect the option Prompt for name and password, certificate, etc..
How to recheck your connection
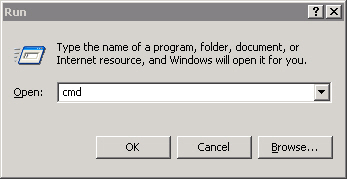
- Press Windows key + R to open the run window.
- Enter
cmdin the blank field to open the command shell.
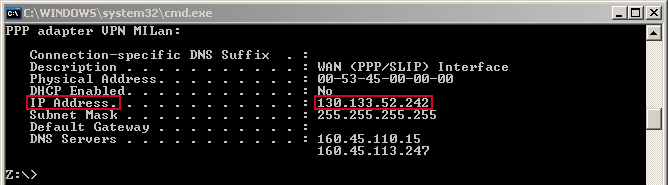
- Type
ipconfig /alloripconfig -allto view the network configuration.

- Check the PPP adapter for the right IP address. The IP address should be from the range 130.133.48.0 - 130.133.63.254.
For advanced user only
Instead of the default gateway you can build your route manually. This is helpful if you use instant messaging clients and/or filesharing clients simultanously with the vpn connection. Therefore deselect the option Use default gateway on remote network . Open the command shell (run - cmd - enter) and type the following three lines sequently:route -p add 87.77.0.0 mask 255.255.0.0 130.133.52.242 metric 5 route -p add 130.133.0.0 mask 255.255.0.0 130.133.52.242 metric 5 route -p add 160.45.0.0 mask 255.255.0.0 130.133.52.242 metric 5 Important!
It is possible that an "Access denied" error occurs during login after configuring the VPN Connection. To solve that problem follow these steps:- Check the properties of the VPN-Connection (see instruction above).
- Next step is to search after the following filetype *.pbk .
- Open the file with notepad ( right-klick --> Open with…)
- Search for "UseRasCredentials=1" and replace with the following: UseRasCredentials=0
- Save and exit.
Comments
Sitemap
Ideas, requests, problems regarding Foswiki? Send feedback