|
|
You are here: Foswiki>Tec Web>ItServicesVPN>VPNMac10_4_en (04 Oct 2012, CarstenSchaeuble)Edit Attach
Mac OS 10.4 Tiger
A short tutorial for VPN connection at the Faculty of Computer Science and Faculty of Mathematics.The VPN connection is necessary to get connected to resources of the faculty, like printers and shares via WLAN connection or the green signed network outlet.
Quick guide VPN connection
| Protocol |
Server | User | Password |
|---|---|---|---|
| PPTP | vpn.mi.fu-berlin.de | <username> |
VPN-Password |
Step-by-step tutorial
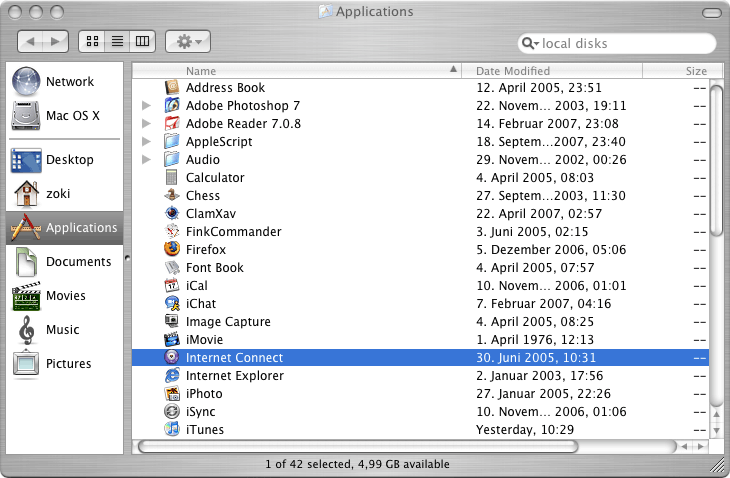
- Open the Applications directory and start the Internet Connect.app application.
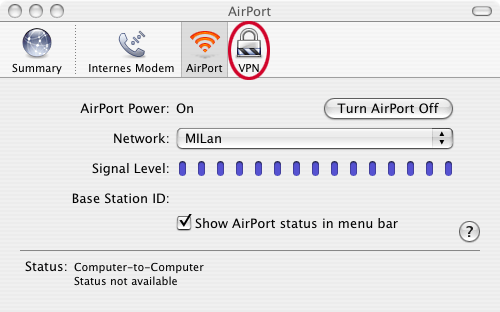
- Select MILan from Network-Pulldown-Menu and click on VPN from toolbar.
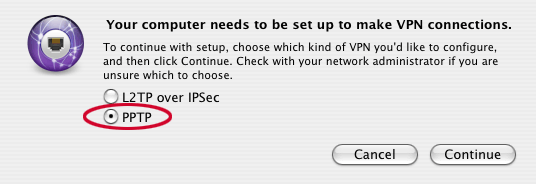
- For your first VPN connection you can choose between L2TP over IPSec and PPTP. At the moment we only support PPTP.
- In the Server address input field enter vpn.mi.fu-berlin.de. Enter your username in the Account name input field and your VPN-Password in the Password input field.
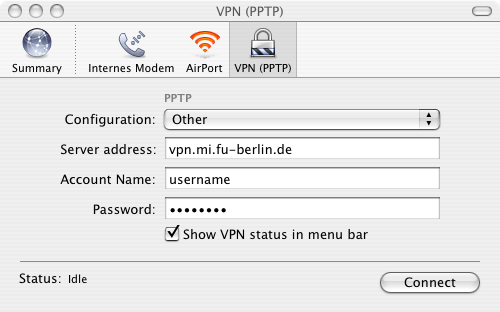
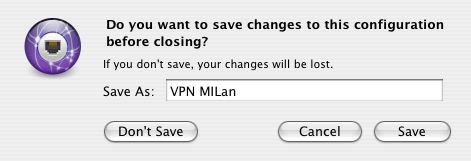
- Save your VPN settings with Command + S. For example as "VPN MILan".
- Click on this symbol in the status bar. In the opening menu select VPN MILan. Click again and this time choose Connect.

- After your connect successfully to your VPN connection a time counter begins in the status bar.

Import the XML-config file in Internet-Connection.app
After the download you should edit the XML file and replace username with your accountname. Otherwise you can change the username in the Internet-Connection.app window.- file content

- Download: vpn_milan.internetconnect
Comments
Edit | Attach | Print version | History: r9 < r8 < r7 < r6 | Backlinks | View wiki text | Edit wiki text | More topic actions
Topic revision: r8 - 04 Oct 2012, CarstenSchaeuble
- This page was cached on 03 Mar 2025 - 21:07.
- User Reference
- BeginnersStartHere
- EditingShorthand
- Macros
- MacrosQuickReference
- FormattedSearch
- QuerySearch
- DocumentGraphics
- SkinBrowser
- InstalledPlugins
- Admin Maintenance
- Reference Manual
- AdminToolsCategory
- InterWikis
- ManagingWebs
- SiteTools
- DefaultPreferences
- WebPreferences
- Categories
Ideas, requests, problems regarding Foswiki? Send feedback