Flow - first steps
Installation
Install Flow 1.5 for Visual Studio 2010.
Visual Studio 2010 Standard, Professional or Team Edition is required.
Tutorial
This tutorial was created using Flow 1.4 with Visual Studio 2008. You will notice several changes in the UI but the outline of the tutorial didn't change. That's why we decided to keep this version online until an updated version of the tutorial is published.
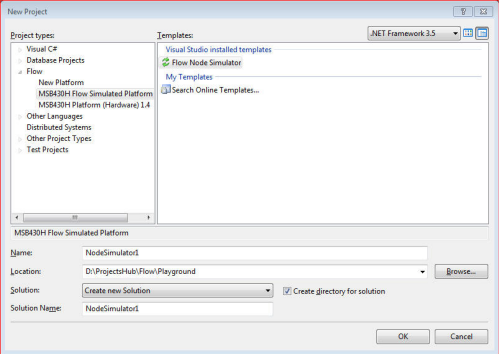
1. Create a new "Flow Simulated Node" Project in Visual Studio:
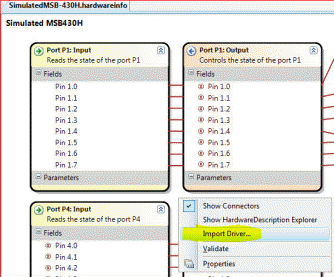
2. The new project contains a .hardwareinfo file. This file defines the components provided by the platform. Open this file with a double-click.
3. Use the context menu of the white background of the hardwareinfo and select the "Import Driver..." command.
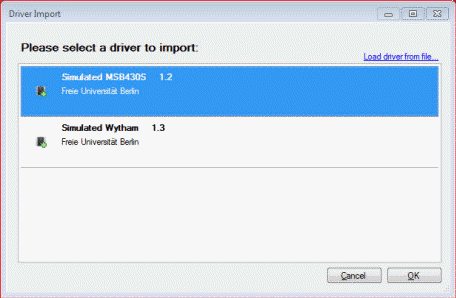
4. Select the Simulated MSB430S driver:
5. Close the hardwareinfo file.
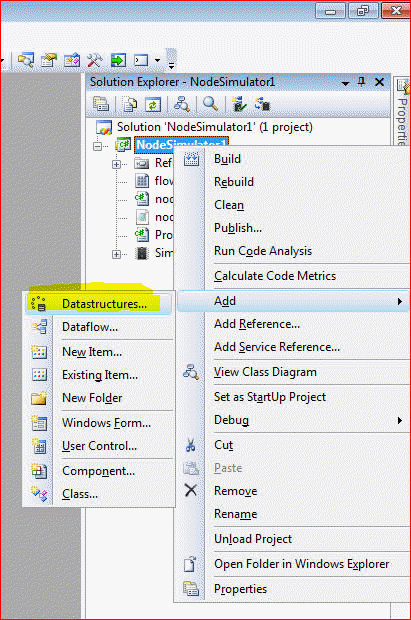
6. Right-Click on the NodeSimulator1 project name and select Add->Datastructures from the context menu:
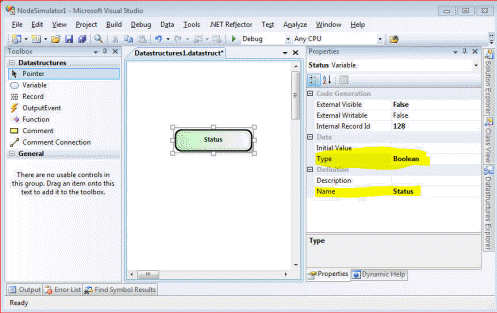
7. Create a new variable. Drag the "Variable" shape from the Toolbox onto the empty drawing area. Rename this variable to "Status" and set its data type to "Boolean" (use the Properties window to accomplish this task. You can get to this window by right-clicking on the variable shape and selecting "Properties" from the context menu that appears).
8. Close the datastructures file and create a new dataflow. This is similar to the step 6.
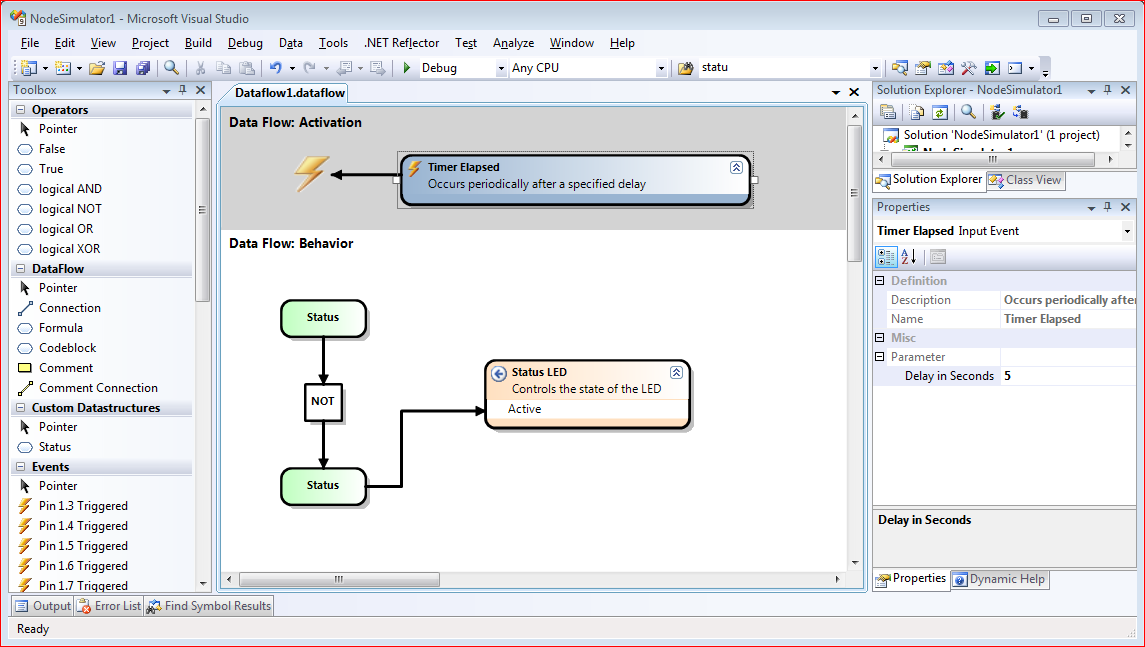
9. Use the Toolbox and the properties window to create a datafow that looks like this:
(click on the image for more details)
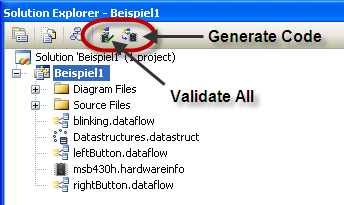
10. Finally generate the application and test it!
Find the "Generate Code" button located at the top of the solution explorer and click it once.
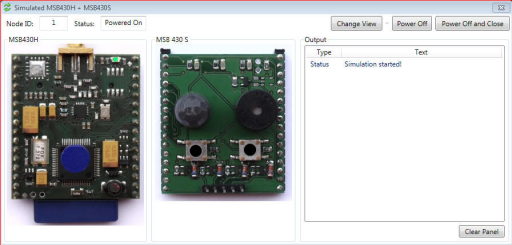
Hit F5 key to run your application.
You will notice a blinking LED that changes its state every 5 seconds.
Contact: Tomasz Naumowicz